Environment Art
Brief
This project is about making a complete environment desgin from 2D to 3D. The process of making it needs to be documented. Students have to finding references to help designing. The final 3D model need to be imported into Unreal Engine 5 and also allows a character walking around the environment. Students need to choose a theme from “Futuristic Vision”, “Real History” and “Fantasy and Magic”, with the environment from “Secret Headquarters”, “Shrine or Temple”.
Mindmap + Sketches
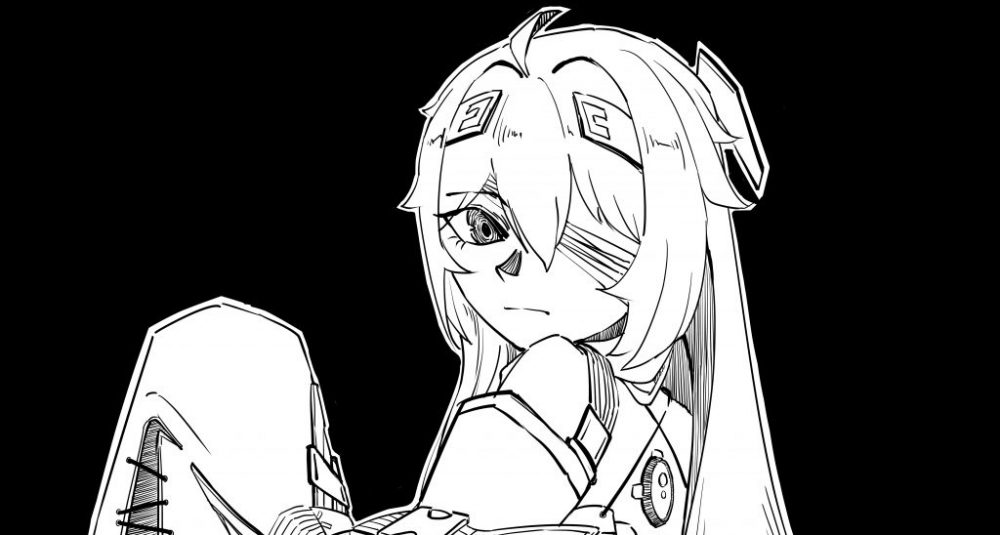
The first idea come to my mind was that I was going to build a headquarters look like a spaceship with a very high technology looking. But later, I thought the cyberpunk style will be better, cause I want to connect this projecct to my personal worldview. I wanted to make this headquarter can be used by my orginal characters for operations. However, I need it looks bright and new, which is not very cyberpunk. I did some sketches to get ideas and help me finding references.
Moodboard
I found some art works from Art Station and took a lot of screenshots from different animation. I wanted to make my headquarters like a bridge area of a space ship at this stage. I think I have been influenced by the ‘Mobile Suit Gundam’. Most of my screenshots are from it.
Abandon Blockout
The first blockout I didn’t make it very well, cause I was influenced by some personal things, I didn’t focus on the project in first two weeks. At the begining, I thought I was going to build a one level base, and there is a seat in the centre, and a stairs beside it which allows commender to sit at a heigher place and see all the screen. However, compare with the last threen images of my mindmap, you will see that this blockout looks too similer to the bridge area in the animation ‘Mobile Suit Gundam’. My idea was trapped in this animation at the begining. And this made my first version too small and boring. The whole design looks so simple, I just put together everything I could think of, which doesn’t make any sense.
After my teacher Robert gave me some suggestion about my first blockout, I think my model needed a big structral change, and it didn’t make much sence to modifty it in this small blockout. So I abandoned this version and started to rebuild my environment.
Environment Design
I think a more spacious environment will be better for a seceret headquarters cause it can create a contrast. It’s like a narrow entrance with a wide space. So I am going to enlarge the scene to four times of its orginal size. It will consist of four platforms of equal size, and there is a small platform in the centre of them. Four big platforms will have a certain height difference and be connected by stairs. There will also be stairs connecting the large platforms and the small platform in the centre. The main commander seat will be on the small platform, and there will be eight screen around it. This part is also the main focus of the whole environment, which means it is going to the most detailed part. And on the left and right platforms of the small one, there will be two capsule allows my characters to dive and doing missions.
Blockout
I spent two days on making the basic structure of my seconed environment desgin in Maya. I talked with Robert about this environment I rebuild, he thought the sense of navigation of this one was much better than the old one, so I thought that keep going on with this one would be a good idea. Therefore, the basis of my environment was set. But I made some changes so that the main focus of the environmenmt is the platform with the commander seat. I made this platform the highest platform, this allows the four large platforms can be connected by stairs form the bottom up to the small platform. And in the ceiling, there also have pipes connecting from four directions to the centre. In this way, the whole scene is visually closer to the small platform. Then I added more items to the centre include eight screens and a unique commander seat to add details. On the lower platform, I added some computers which allow the other characters to use, and they also give a foreground on the final image. At this stage, I thought my whole environment looks quite good, at least the stucture is right, so I started doing the texture and colouring the items.
Colour Matching
About the colour matching, cause I want to include this modle into my personal worldview, I consider the colour matching of my old project. This is a room of my orginal character ETA, as she is also the commander of this headquarters, so I think the samiliar colour matching will be better. However they should not be the same, cause compare to my old project, my headquarters needs to be much more brighter.
About this project, please access my blog at:
https://shiyuantong8145.myblog.arts.ac.uk/2021/10/07/3d-story-world/
I do tried some different colour matching. But I think they don’t work well. The last one up there looks well, however those grey don’t look very different when they are used in different materials, so I add more bright colours. Finally I still use white (#000000) and grey (#858585) as main colour with a little bit orange (#ff9a00). And use cyan (#6cacaa) as the colour of screen and red (#ff0000) as warning signal.
Textures
For most big objects in my environment I used Steel Painted in the Substance 3D Painter. The objects like floor, ceiling and wall, I all used Steel Painted, and to reduce the reflection of the surface, I changed the paint roughness of the texture to 0.75.
There are a lot of rails in my environment, I used Steel Rust and Wear as the texture, and increase the steel roughness to 0.5. So it can gives the rail a some reflection but not too obvious.
I used Fabric Super Hero in Substance 3D Painter as the texture of pipeline. This material is originally used to make super heros’ suit, but I found it is very fit to make pipelines.
For the most small objects like boxes, suitcases and computers, I used the smart material Steel Painted Chipped Dirty. But the orginal material looks so old and dirty, I closed one texture in rust and changed ambient occlusion to 0.25. And also closed one texture of the scratch in paint.
Modeling Process
Stairs
My first detailed object is the stairs, because they are in the centre of the headquarters, and they connect the platforms. I first made the low polygon version of the stairs and did the UV editing. Then I move the pivot to the bottom of the object and as the point that will be use to align position in Unreal Engine 5. The pivot have to be the 0 position of the world. Export the low polygon version as “stairs1_lowpoly” in FBX. After that I copy the low polygon version to make the high polygon version. Making sure that they are at the same position and export as “stairs1_highpoly”.
Import the low polygon version in the Substance 3D Painter, and bake the high polygon version onto the low polygon version. Then add the textures and colours. To make one colour only shows on some parts of one object, you need to right click on the layer of the colour, and choose the “Add blcak mask”. Use “Polygon Fill” to make the surface you want to show the colour or the texture white on the black mask. Because this project we were using the Unreal Engine 5 as the final render software, so I used “Unreal Engine 4 (Packed)” at output template and used 8bit file. After export, we will get three textures which are “Basecolor”, “Normal” and “OcclusionRoughnessMetallic”. At this stage the taxtures are able to import into Unreal Engine 5.
Basecolor
Normal
OcclusionRoughnessMetallic
Computer
The computer was one of the objects that annoyed me the most during the building of the whole scene, cause it has a very complex key board and screens with light. The textures of the computer has to include a emissive texture. About the keyboard, I made it in the high ploygon version of the computer, and bake it on to the low polygon version which allow me save the polygon in Unreal Engine 5.
Basecolor
Normal
Occlusion Roughness Metallic
As my environment is a headquarters, the characters will need a lot of screens to process information, so with some reference, I design the computer with four screens. But this design lead to a problem, the content on the screens should not repeat too mang times. So when I was doing the emissive textures of the computer, I added a lot chartlets which were drawn by myself. The chartlets need to be in only black and white, and import into Substance 3D Painter as Alphas. Use the alphas as eraser on the black masks of the layers with different colours. To make it look more like a computer screen, I drew some frames as chartlets. And to show this project have connect with my orginal characters, I even used some setting images.
Mascot
Due to I wanted to make an animation for my environment, I wanted to create a mascot who can lead the audience around the environment. At the beginning, I wanted to make a personal robot, but I didn’t think the time was enough, so I create a cute robot in sphere shape. And it is the new year of the Rabbit, so I added rabbit ears.
Decals
I also tried to make decals to increease the details of the scene. I draw some details of cover plate by myself for decals. And imported those images to https://cpetry.github.io/NormalMap-Online/ and transfered them into normal. Then import the normals into Unreal Engine 5 to make Decals.
About Textures in UE5
It’s my first time of using the Unreal Engine, so importing the objects and making the materials in Unreal Engine 5 was a little bit difficult for me at the beginning. But with practice, I gradually got familiar with this software. We use the Third Person of Games project. When importing the low polygon version of the objects into UE5, choose the “Convert Scene Unit” to maintain the orginial size of the polygon in maya. And also choose “Do Not Create Metarial”. After importing, double click the object in “Content Drawer” and choose “Use Complex Collision” in “Collision Complexity” and save it.
To create a material, right clik in the “Convert Scene” and choose “Material”. Remember to rename the material with “MM(master material)_object”. Import the three textures that export from Substance 3D Painter and rename them. Double clik the material material, make the material graph shows below, and save it. Then create material instance. For the later object, only need to creat the materical instance. And change the basecolor, normal and orm of the new object. To apply the material to the objecct, just drag the instance to the object. For the object with light, only need to link the emissive in the material graph, and add an emissive power param.
Final Rendering
Reflection
I think this project does not up ot my expectations. Let me start with the part that meet my expectation. I think the whole atmosphere is just what I want for my environment. It is bright and clean, and the focus of the scene is at the commander seat in the centre. After Luca gave me some suggestions about changing the colour of the light to give a different atmosphere. I tried to change the white light to red in order to make my scene like in a emergency condition, which looks pretty good. And the colour matching of white, grey and orange works really well.
However, I think my my bright scene with my models in low polygon version make the whole envirnment not very detailed. I was too worried about that the Unreal Engine 5 on my laptop would not able to hold so many polygons, so I didn’t make a lot of details. I really need to give up this idea, and try to do not worried about the number of polygons. And For this project, I would say to the others parts it is ok for less detailed. I think for the forcus, the part of commander seat, should be much more detailed, athough it looks quite detailed compare with the other parts. This kind of style just make the scene look too cartoon which is not I want. One thing that I forgot is that I should make a ground too let the audience know the headquarters is a sceret, it should be under the ground or hided in somewhere. I forgot this setting during the blocking out.
There are two parts that I am really unhappy about. Due to the time was not enough, these two parts are far from the expectation.
One of the failed object is the capsule I made. By the time I made it, I was actually supposed to start making textures, so I didn’t put too much effort into it. You can see my capsule does not have any struture, it totally make no sense, it is just looks like a capsule, that is the reason why it looks less detailed.
Decal is the other thing that I am not satisfied. Althrough the decals I have done works pretty good, I think the design of these decals is too simple. They are not detailed enough just like the objects I mentioned before. It was supposed to be that the walls would be full of decals. But I didn’t spent too much time on making decals. next time, I will allocate more time to this part, cause decals really gives more effect to the scene.
Therefore, there are some parts I could have done better. The redesign also wasted some time. I also think I spent too much time on the block out and baking high polygons to low polygons. I need to plan my time better next time. But I do enjoy this project, I added a lot of personal interest, such as the colour and the images of my origiinal characters. And my whole environment is kind of completed.
You can download my PDF about this project here