BRIEF
This project is about choosing a theme from Adventures of old, Magical and mysterious, Dark and dangerous, Out of this world and create a 3D model of an inhuman character or an object. The theme I chose is Out Of This World. And I created a character with mantis feature, but her arms and legs will be displaced by machines.
MINDMAP
MOODBOARDS
REFERENCE
CHARACTER SETTING
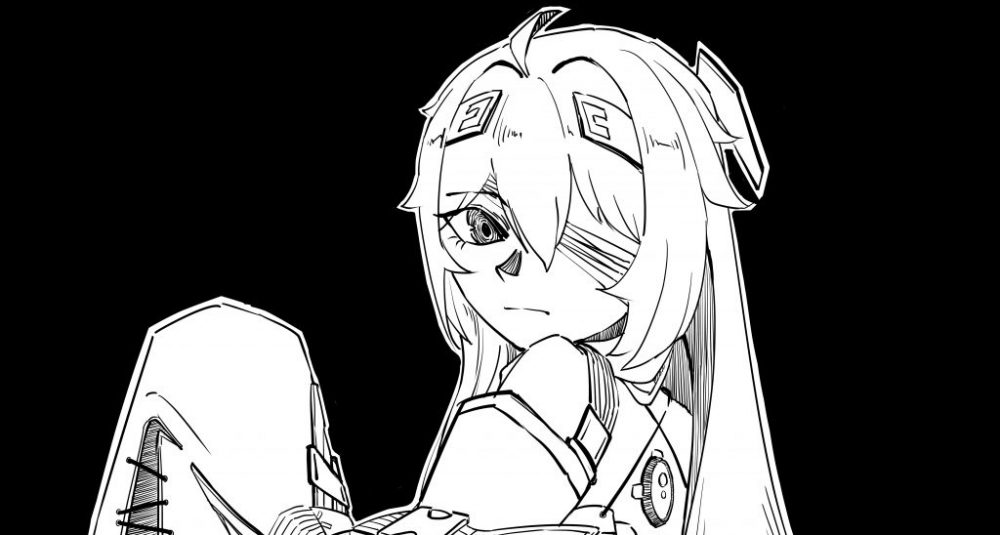
CHARACTER DESIGN
So about this character I am trying to combine the biological elements and technological elements. Her body was designed with the elements of mantis, and her arms and legs were replace by the mechanical limbs. In fact, personally, making this mechanicla limbs into 3D models is much easier than making the body, so it’s a kind of way to be lazy. In the settings, after this character No.0119 escaped from the laboratory, she replaced all her arms and legs with mechanical limbs in order to become more stronger.
3D MODEL
See my 3D model 1 at: https://sketchfab.com/3d-models/mu-no0119-0e56b4b18dde4606a61c8ef2c036f70b
See my 3D model 2 at: https://sketchfab.com/3d-models/mu-no0119-9bcdf057cc3342dc8e4fc356e0795ef3
REFLECTION
So my first idea of creating a character was to design a monster or a creature that follows the settings of Kamen Rider. However we have a rule that the final model should be no more than 2000 polygons. So I tried to add some mechanical elements on her which was replace her arms and legs with the mechanical limbs. So I could make the base model more simple and try to mech a texture with higher polygons onto the model with lower polygons. This way also allowed me to make the model much more easier. But here I faced my first problem, how should those mechanical limbs look like. I redesigned the character again and again, and finally, I just design the limbs in simple cylinders, which not looks very great but easy to build.
When I started to build this character in Maya, I was confident and excited cause I didn’t have too much big problem on making the model with the lower polygons. It was just not look like my 2D design very much due to the polygon limit. I was a little unsure where the muscles are in the biological part, so the biological part may look a little bit strange. But I really like the parts of the mechanical limbs that I made, they looks well and fit my 2D design version. And thanks to Luca’s teaching in the class, I learnt how to combine two points and how to mirror objects in Maya, which are so useful for making models.
However when I brought my model with low polygons into the Zbrush, there came a lot of problems. For example, cause I needed to allow my character’s limbs act like machines, I should make the limbs into parts instead of connect them with the body, so I had to divided them in Maya and import to Zbrush indifferent parts. This process was a little bit annoying, and I needed to do the UV editing again. I think I should make two version from the beginning next time, one version keep the objects in different parts and one version connect all the parts together, which will make my process of modeling much easier. By the way, this was the first time to do the UV editing, this work was so difficult and complicated. I think it is the most challengeable work in this project for me. I did again and again, no matter how I edited, there were still some problem can not be fixed, I just let those problem go at the end. I think next time I make a 3D model, I must build objects and consider the UV at the same time, so that I can make the UV of the object more logical.
After I brought all my parts into the Zbrush, I started to add details and made the low poly model into high poly model. And to be honest, I used to thought that the Zbrush is very easy to learn, but it is not. It is so different to the software like Maya and Blender, it is basically for sculpture, so there are too much tools which need to learn carefully. I didn’t think there was enough time for learning the Zbrush deeply, so I just use some basic tools for sculpture to add details such as the texture of the muscle on the biological parts. I didn’t think these details works very well, but it was good enough for my low poly model. I used Substance 3D Painter to add color and textures. I just added basic colors and added metal texture on her mechanical limbs. As I still don’t understand how to render in Substance 3D Painter, I used the Sketchfab to make the final rendering model, which was much easier for me. But I will try to learn rendering in Substance later.
I tried to push myself work harder, so I learnt a bit of rigging. That allowed me to make my character have different poses, which lead to a better effect of the final render. In this process, I thought rigging was fine, cause I asked Luca a lot of questions, painting the weight was so difficult especially for the biological part of my character. Fortunately the limbs are machines, which were easy to be painted the weight.
For this project, I really enjoyed it especially at the end I finally could pose my character, which felt like my character was alive. But I still need to learn more about model, sculpture and render in the later study.